
You've just received your AeriCast Pre-Configure Android Receiver?
Here's a quick start guide to get it set up.
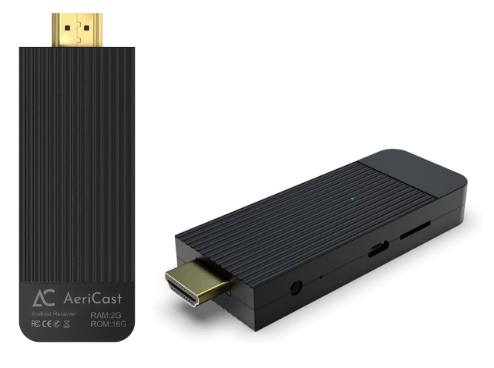
Connect Cables & Power:
Please follow the instructions below to set up your AeriCast Android Receiver and get started.

- Connect HDMI to your TV (use the provided HDMI extension cable if needed)


- Plug the remote's USB dongle into the device's USB port


- Plug in the power adapter


Please note that it may take a moment for the device to be fully booted for the first time.
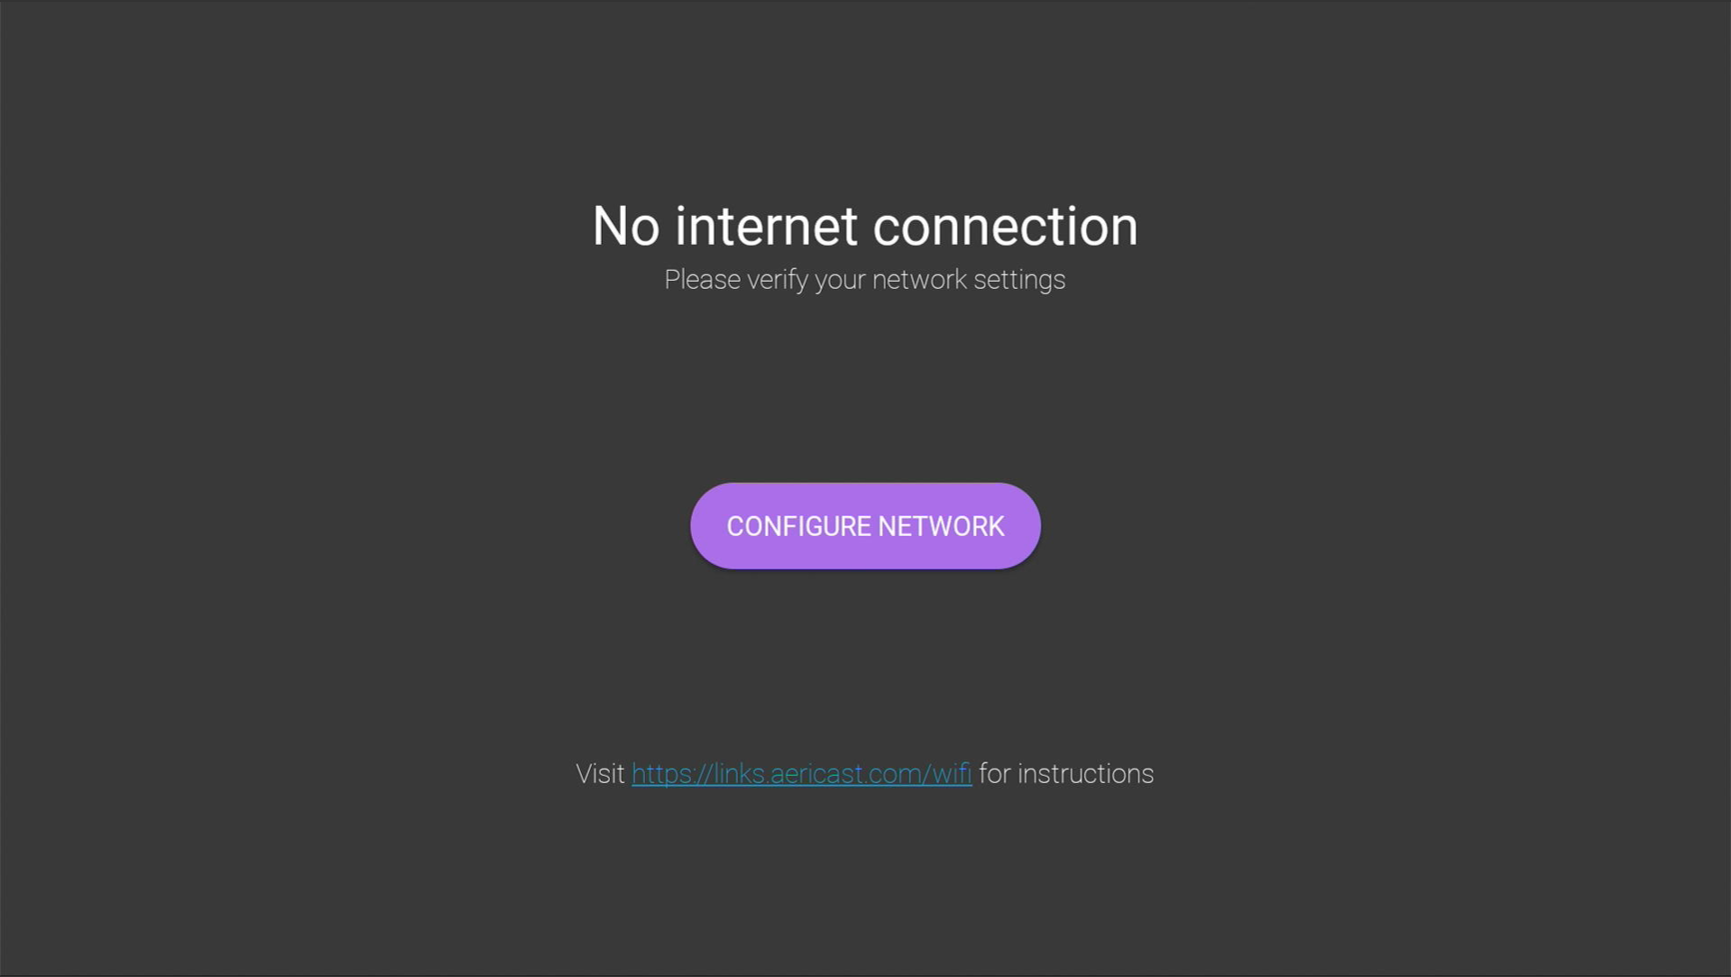
Connect to Network
You will see this message"No internet connection", after the receiver boots up. You just need to click the CONFIGURE NETWORK button to set up the internet connection on your receiver.
You can select your WiFi network and then enter your WiFi password. Now you will be connected to the Internet.
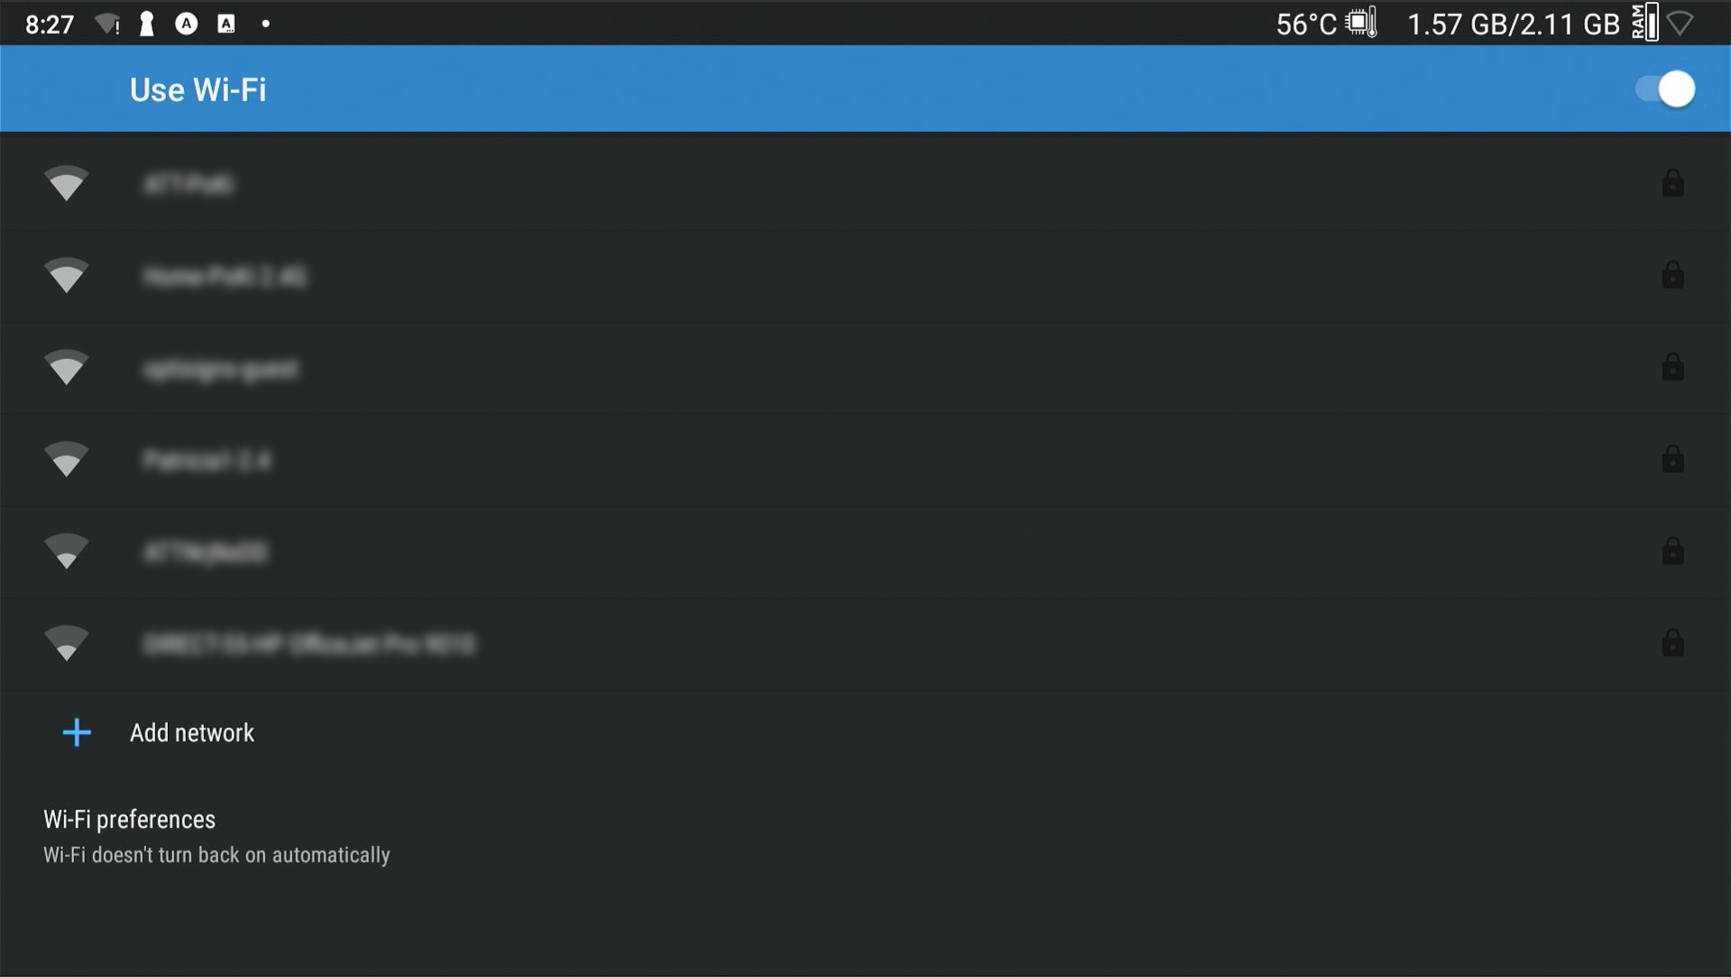
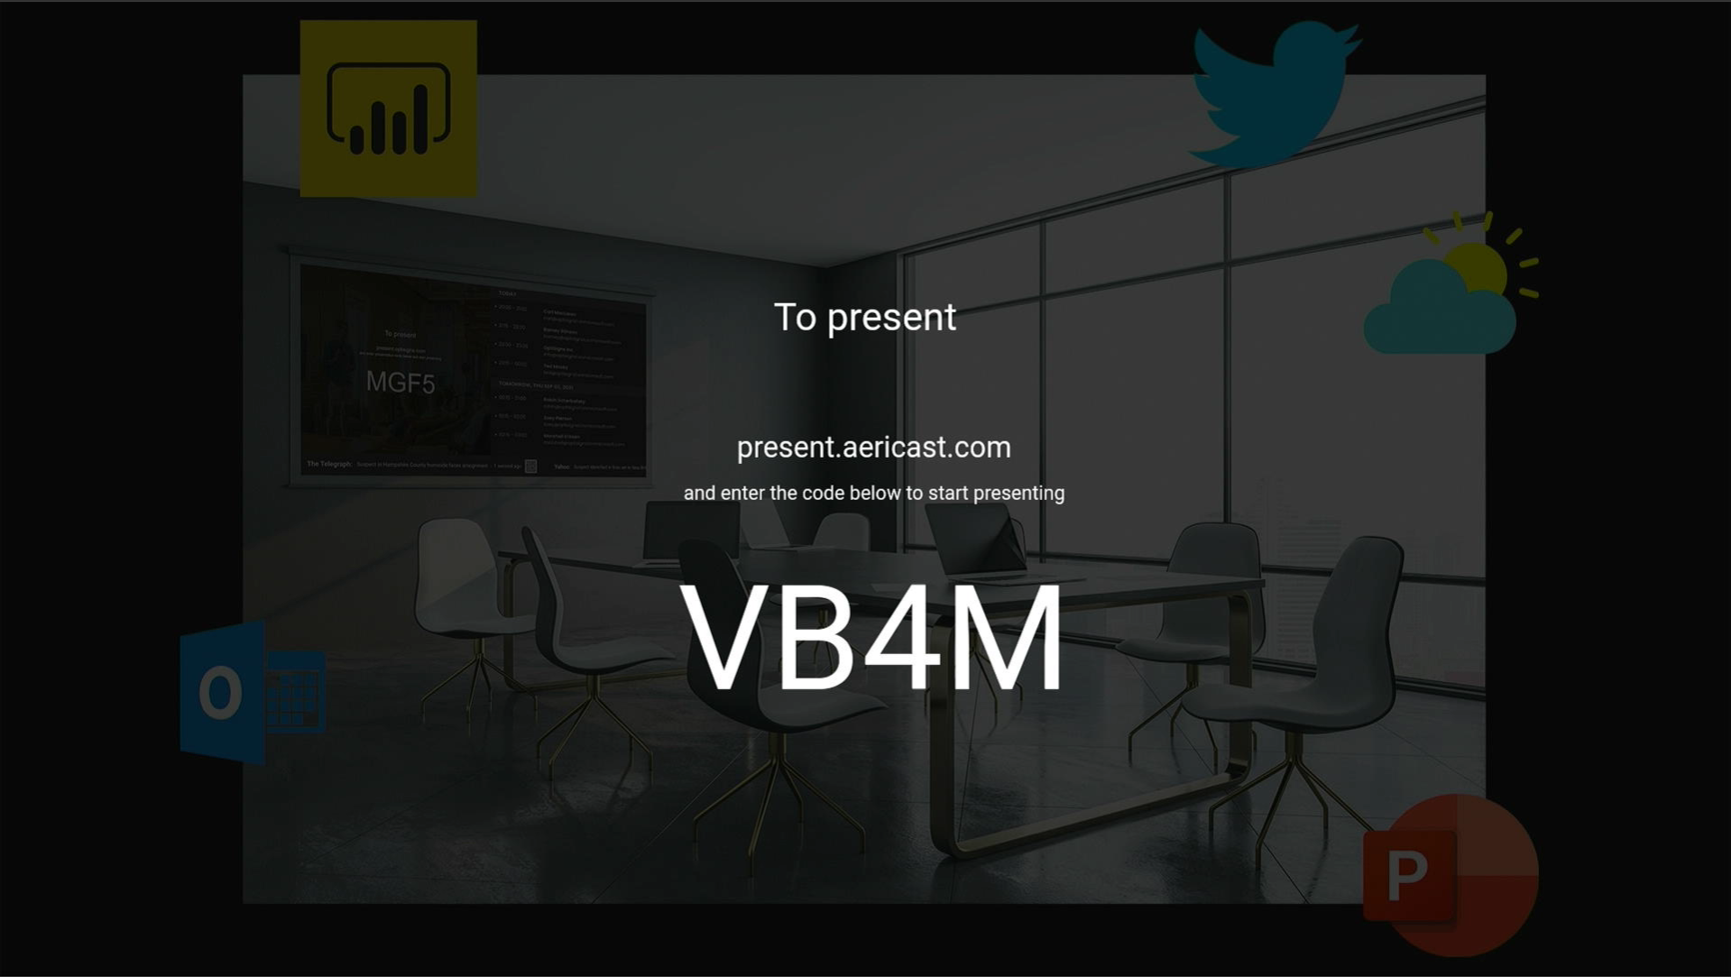
Then you can exit the WiFi Setting, and launch the AeriCast app. It will show the 4 digits of pairing code.
Pair the Device
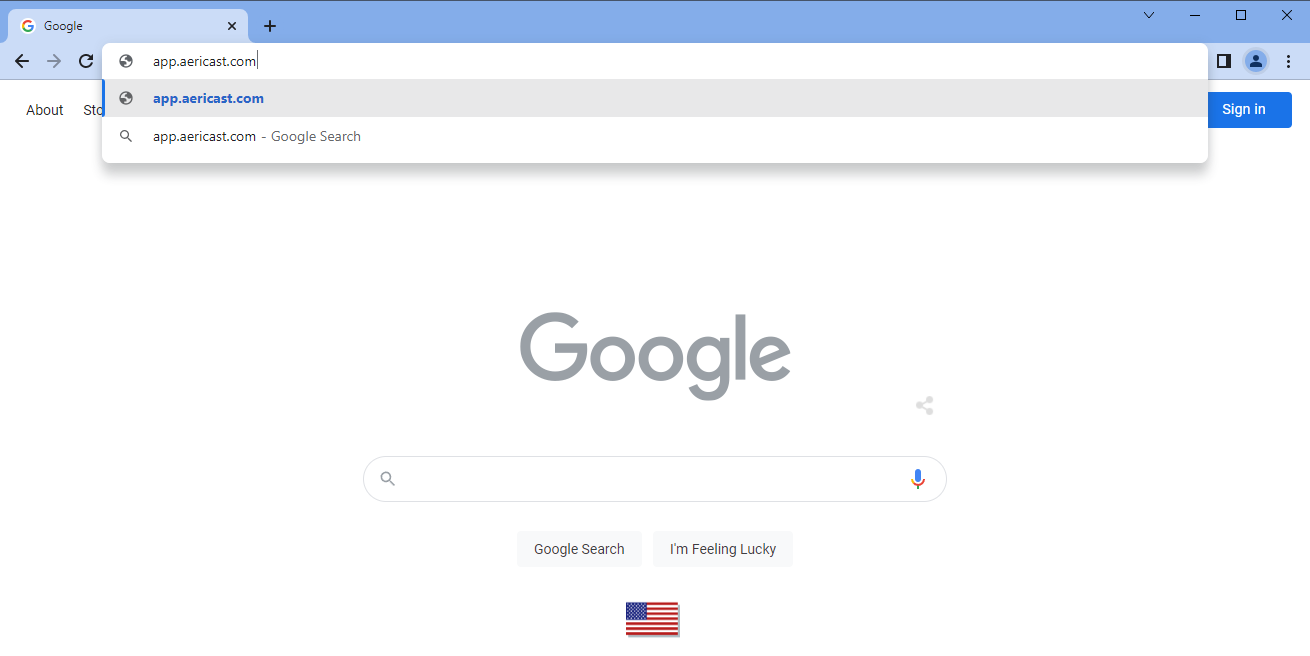
Go to AeriCast portal: app.aericast.com
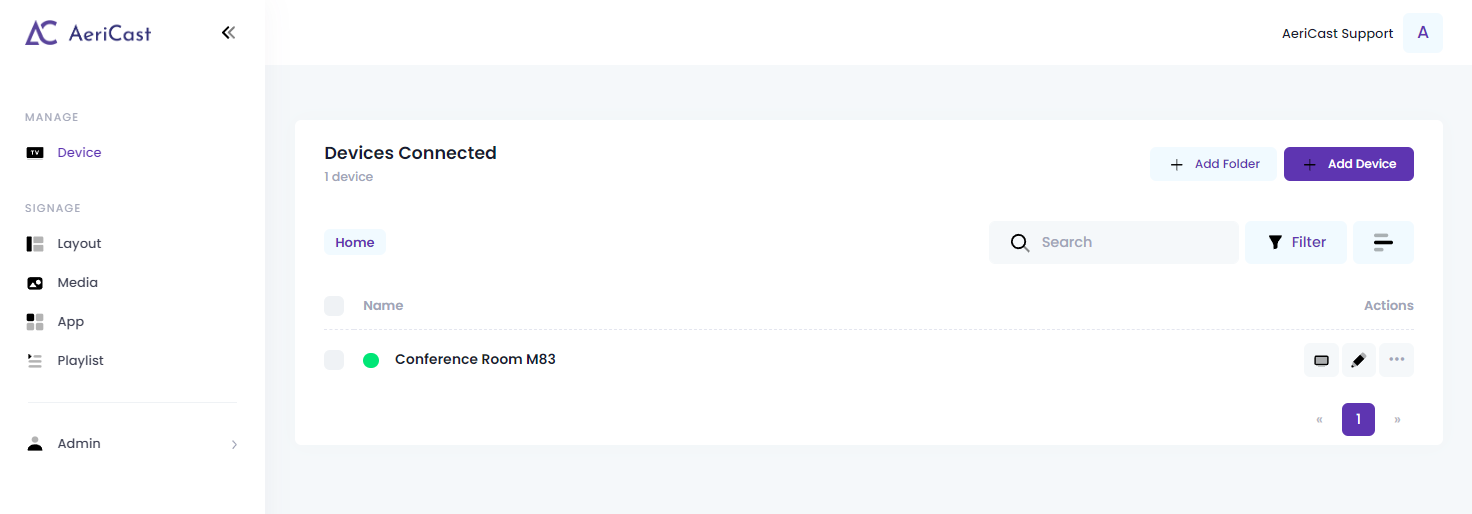
Once you logged in, click "+ Add Device" to your portal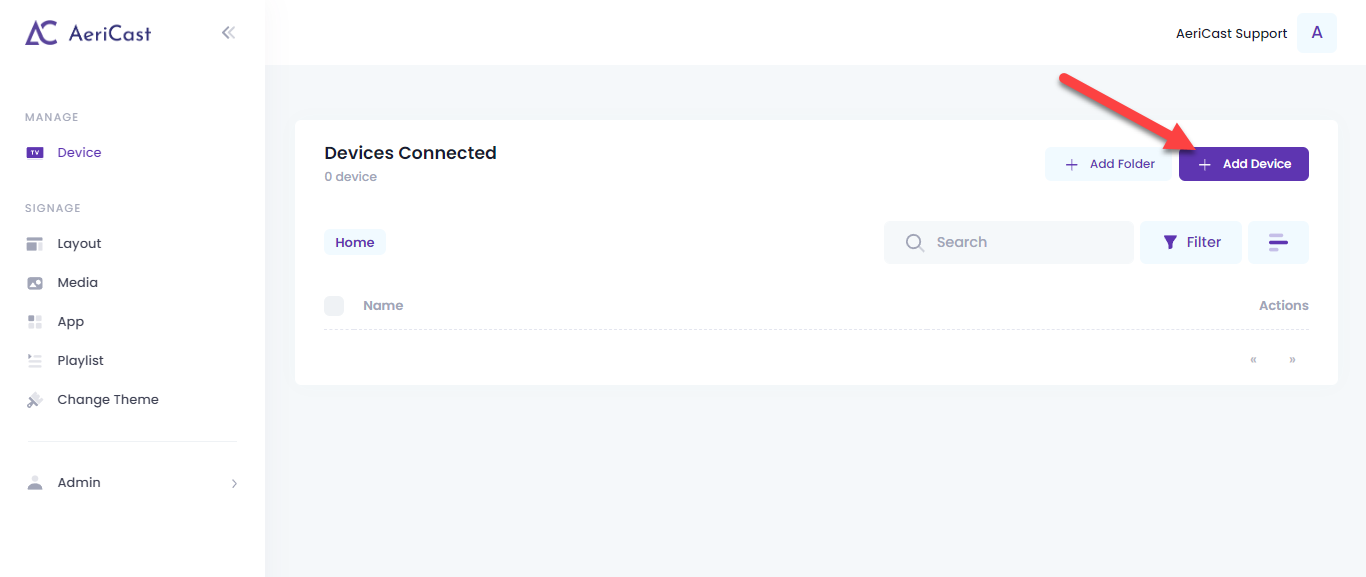
Enter the 4 digits from your screen
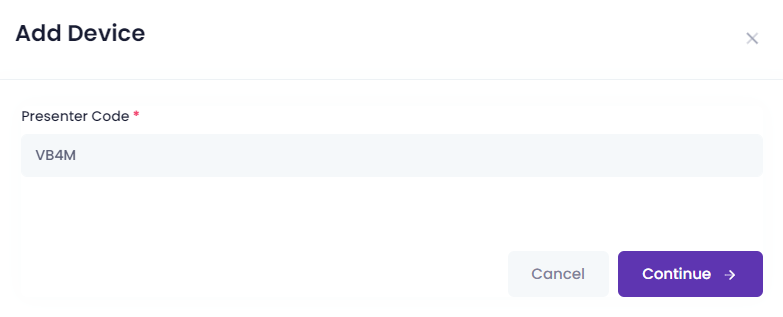
Give it a name and select your layout. Then your device will be in your account.
Congratulations, your AeriCast Receiver device is ready for your wireless presentations and more. Want to learn more? Check out the following how-to articles below:
Was this article helpful?
Articles in this section
- How to get started?
- What is the Presenter Code (4-digit-code)?
- AeriCast Android Receiver - Getting Started Guide
- How to create your own layout
- How to turn your screens into Digital Signs when conference room not in use
- How to create a playlist
- What file types are supported
- How to set up AeriCast with Android TV
- How to set up AeriCast with Windows
- How to set up AeriCast with Amazon Fire TV Stick
Add comment
Article is closed for comments.